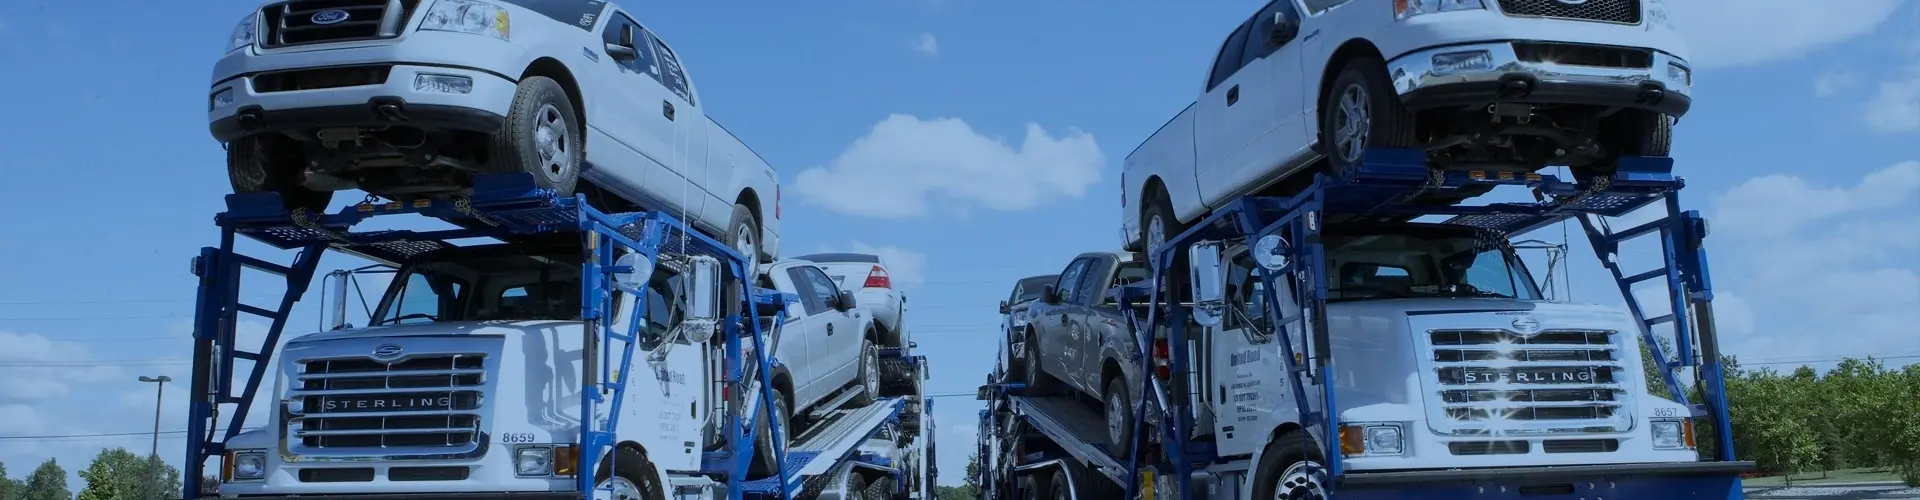
Understanding the Auto Transport Process

Understanding the
Auto Transport Process

A comprehensive 7-step guide from requesting your first quote to final delivery and review.

Get Free Quotes

Get Up to 10 Free Texas Auto Transport Quotes

Shipping a vehicle—whether across Texas or across the country—can seem daunting. With a clear understanding of each step, it becomes a straightforward task. This guide walks you through the entire auto transport process from start to finish so you know exactly what to expect.

With Texas Auto Transport, you can review up to 10 free quotes from bonded and insured carriers and lock a plan that matches your addresses, vehicle, and dates.

  • 7 clear steps from quote to post-transport review
  • How to prepare your vehicle for safe shipping
  • What to expect at pickup and delivery inspections
  • Tips for choosing between open and enclosed transport

Free Texas Auto
Transport Quotes

Or call 1-800-590-6492

Step 1: Request a Quote

The first step in the auto transport process is to request a quote. This typically involves providing details about the vehicle—make, model, year, and any modifications such as lift kits or roof racks—along with the pickup and delivery locations and your preferred transport dates.

The cost of Texas auto transport depends on several factors, including the distance, the size and weight of the vehicle, the time of year, current fuel prices, and whether you choose open carrier or enclosed transport. Requesting multiple quotes lets you compare real pricing from different carriers and find the best balance of cost, timing, and service level.

Step 2: Schedule Your Transport

Once you’ve received a quote and decided to proceed, the next step is to schedule your transport. This involves confirming the pickup window and delivery window, as well as the exact locations or meet-up points.

It’s important to book your transport well in advance, especially during busy seasons like summer PCS moves, college move-ins, and holiday periods, to ensure carrier availability. Providing flexible date ranges can also help secure better rates and faster matching with available trucks.

Step 3: Prepare Your Vehicle

Before your vehicle is picked up, you’ll need to prepare it for transport. Proper preparation helps ensure a smooth pickup and protects your vehicle during transit:

  • Remove all personal items from the interior and trunk
  • Clean the vehicle so existing damage is visible during inspection
  • Document any existing damage with time-stamped photos (all sides, roof, glass, wheels)
  • Disable the alarm system
  • Check tire pressure and ensure tires are properly inflated
  • Keep the gas tank at about a quarter full
  • Secure or remove loose exterior accessories (antennas, spoilers, custom mirrors)
  • Ensure the vehicle starts, steers, and brakes—or notify the carrier if it doesn’t

If your vehicle is non-operational, let the carrier know in advance so they can bring the appropriate equipment such as a winch, skates, or dollies.

Get Up to 10 Free Texas Auto Transport Quotes

Licensed, bonded and insured carriers. Real rates. No obligation.

Step 4: Vehicle Pickup

On the scheduled pickup date, the driver will arrive to load your vehicle onto the transport truck. Before loading, the driver will perform a detailed inspection of your vehicle, noting any existing damage on a Bill of Lading (condition report).

You should review this report carefully, compare it against your own photos, and keep a copy for your records. This document is your primary protection if a damage dispute arises later. Take your own time-stamped photos at this stage as well—it only takes five minutes and provides an invaluable record.

Step 5: In Transit

During transport, your vehicle is fully covered by the carrier’s auto transport insurance. It’s securely loaded onto the truck, either on an open carrier or in an enclosed transport trailer, depending on the service you’ve chosen.

You can typically track your vehicle’s progress during transit, either through online tracking updates or by contacting the transport company directly. Standard transit times depend on distance—local Texas routes may take 1–3 days, while cross-country shipments typically take 7–14 days depending on the route and season.

Step 6: Vehicle Delivery

Upon delivery, you (or a designated representative) should inspect the vehicle closely for any potential damage that may have occurred during transit. Compare the vehicle’s current condition against the Bill of Lading from pickup and your own photos.

If everything is in order, you’ll sign off on the delivery and the transport is complete. If you notice any new damage, note it on the delivery receipt before signing and take photos immediately. If it’s dark or wet at delivery time, dry the panels and use a bright diffuse light to inspect properly—don’t rush this step.

Get Up to 10 Free Texas Auto Transport Quotes

Licensed, bonded and insured carriers. Real rates. No obligation.

Step 7: Post-Transport Review

After the transport is complete, it’s a good idea to leave a review of your experience. This not only helps the transport company improve its service but also provides valuable information for future customers who are researching carriers.

Keep your Bill of Lading, photos, and any correspondence for at least 30 days after delivery in case you discover damage that wasn’t immediately visible. Most carrier insurance claims have specific filing windows, so prompt documentation is essential.

Ready to Ship Your Vehicle?

Understanding the auto transport process helps make the experience as smooth as possible. At Texas Auto Transport, we’re committed to providing transparent, reliable, and high-quality service every step of the way. Get up to 10 free quotes from licensed, bonded, and insured carriers today.

Get Free Quotes 1-800-590-6492